
BUILDING AN ADU IN SOCAL: IT SOUNDS SIMPLE… UNTIL YOU ACTUALLY START
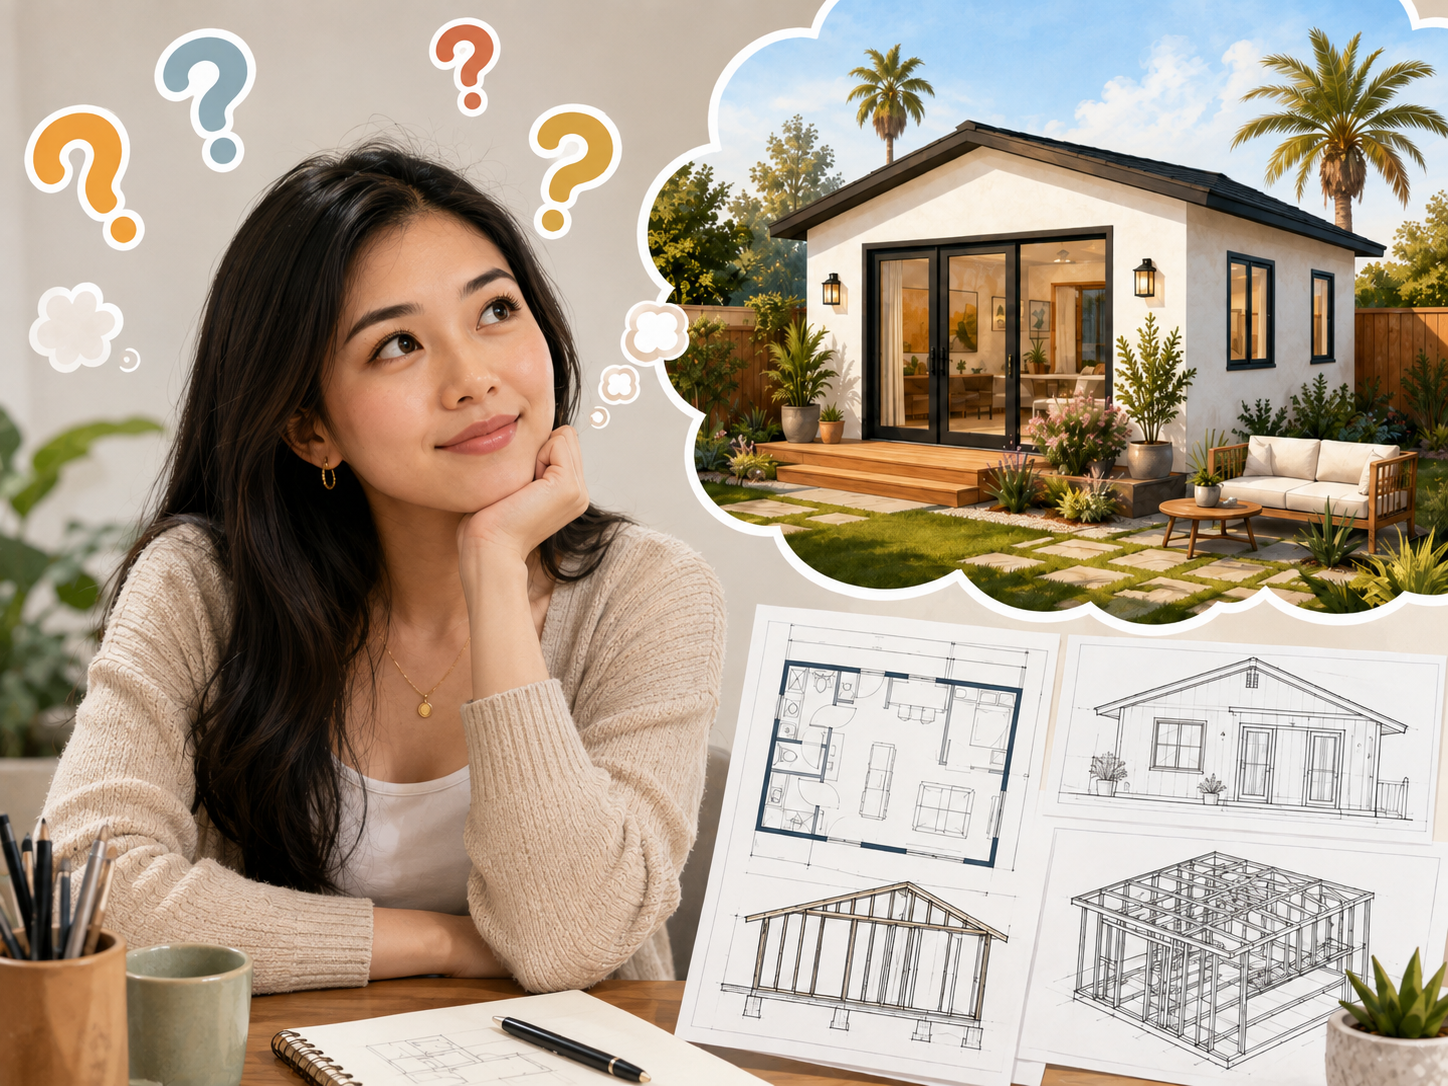
BUILDING AN ADU IN SOUTHERN CALIFORNIA: IT SOUNDS SIMPLE… UNTIL YOU ACTUALLY STARTA lot of homeowners look at their backyard and think:“This would be the perfect spot for an ADU.”And they may be right. But before choosing kitchen cabinets, flooring, or paint colors, there are a few important things to figure out first.
1. Start with your budgetBuilding an ADU is not just about construction costs.You also need to consider design, engineering, permits, utilities, and unexpected expenses.I usually recommend keeping an extra 10 to 15% in reserve for surprises.Sometimes everything looks great on paper, and then you discover that the electrical service needs to be upgraded, the sewer connection is more complicated than expected, or the water service needs additional work.That is usually when the budget starts getting a little more interesting.
2. An empty backyard does not always mean you can build anywhere you wantBefore designing the ADU, an architect should first review the property.We need to understand how much space is actually available, where the property lines are, how close the ADU can be to the fence, and whether there are easements or other restrictions.In simple terms, the first question should be:“What kind of ADU can I realistically build on this property?”It is much better to find that out first than to fall in love with a beautiful floor plan and later discover that it does not fit.
3. Then comes the fun part: designOnce we know what can be built, we can start talking about the layout.How many bedrooms?How many bathrooms?Do you need a full kitchen?Laundry inside the unit?More privacy from the main house?Large windows and natural light?
One lesson from my architecture teacher has always stayed with me:
“In the morning, you shouldn’t need to turn on the lights.
In the evening, you shouldn’t need to turn on the fan.”
What he meant was simple: a well designed home should work with nature.Windows and doors should be placed where they can bring in natural daylight and allow fresh air to flow through the house.If we understand the direction of the sun and the way the breeze moves through the property, the home can feel brighter, cooler, and more comfortable without depending on lights and air conditioning all day.To me, that is part of good architecture.A beautiful home is not only something you look at.It should also feel good to live in.And an ADU does not have to be large to achieve that. A well designed 700 or 800 square foot home can sometimes feel much better than a larger space with an awkward layout.
4. Check the water, sewer, and electrical systems earlyThis is one of the most important parts of the project, and also one of the easiest to overlook.We need to know where the existing sewer line is located and whether the new ADU can connect to it properly.We also need to check whether the existing water service and water meter can support the additional unit.For electrical, we need to determine whether the current panel and service have enough capacity or whether an upgrade may be required.And if you plan to use gas, that needs to be reviewed as well.In other words, the ADU may look beautiful on the drawings, but we still need to know where the water is coming from, where the electricity is coming from, and where everything is going when you flush the toilet.
5. Engineering comes nextOnce the floor plan is mostly finalized, the engineer works on the foundation, walls, roof, framing, and other structural elements that keep the building safe and standing.If the property has a slope or unusual soil conditions, additional studies may be required.Homeowners do not need to understand every engineering term.The important thing is to know that designing a beautiful home is one part of the process. Making sure it is safe and meets building requirements is another.
6. Prepare the permit drawingsOnce the design and engineering are complete, everything is combined into a full set of drawings for the City.These drawings show where the ADU will be located, what it will look like, how it will be built, and how the electrical, plumbing, and mechanical systems will work.This is when the project enters what I sometimes call:“Waiting for the City to grade our homework.”
7. Submit the plans to the CityThe City reviews the drawings and checks whether the project meets the applicable requirements.If something needs clarification or revision, the City will send back comments, usually called plan check corrections.Corrections are completely normal.The architect and engineers review the comments, revise the drawings, respond to the City, and submit the plans again.Some projects move through the process quickly.Others may require several rounds of corrections.The important thing is having a team that understands what the City is asking for and knows how to respond correctly.
8. Finally: Building PermitOnce the required departments approve the plans and the applicable fees are paid, the City issues the Building Permit.That is the moment when the homeowner can finally say:“Okay, now we can actually build it.”In my experience, a smooth ADU project usually is not about luck.It starts with doing the homework early.Check the property carefully. Understand the utilities.Set a realistic budget.Design within that budget.And prepare the permit drawings properly.Doing the work upfront can save a lot of time, money, and frustration later.So if you are looking at your backyard and thinking,“Maybe I should build an ADU here…”The first question should not be:“How much will it cost?”A better question is:“What kind of ADU can I actually build on my property, and how can I make it a comfortable place to live?”